Note
Go to the end to download the full example code
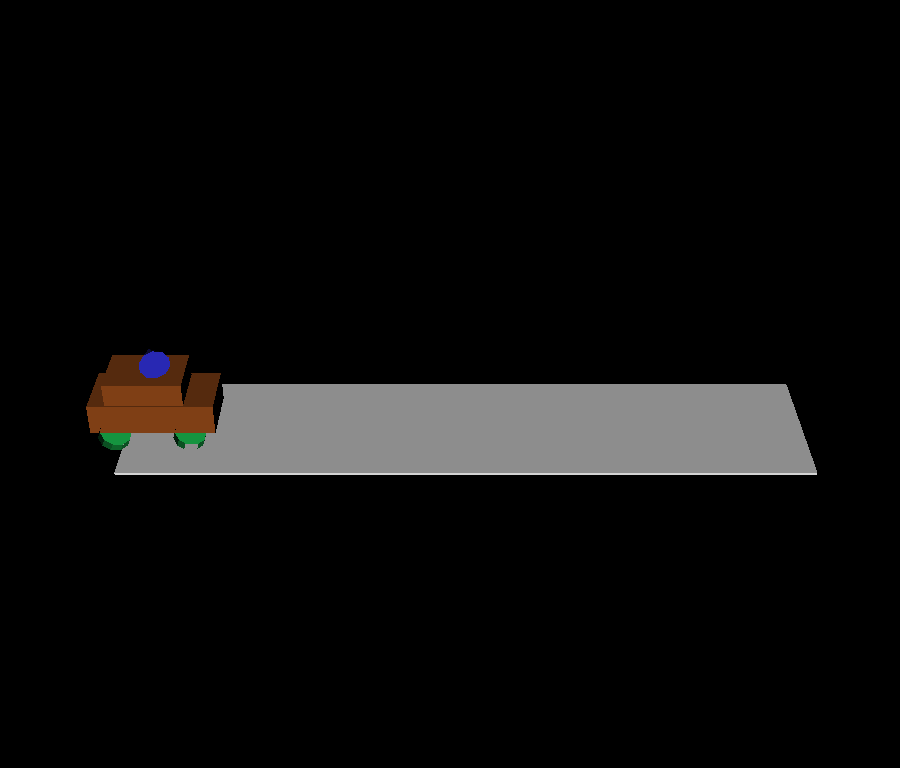
Keyframe hierarchical Animation#
Creating hierarchical keyframes animation in fury
import numpy as np

import fury

scene = fury.window.Scene()

showm = fury.window.ShowManager(
    scene=scene, size=(900, 768), reset_camera=False, order_transparent=True
)
showm.initialize()
Creating the road
Constructing the car geometry
body_actor = fury.actor.box(
    np.array([[0, 0.5, 0], [-0.2, 1, 0]]),
    scales=((4, 1, 2), (2.5, 1.5, 1.8)),
    colors=(0.6, 0.3, 0.1),
)
Adding the the car’s body to an Animation to be able to animate it later.
car_anim = fury.animation.Animation(actors=body_actor)
Creating the wheels of the car
wheel_center = np.array([[0, 0, 0]])

wheel_direction = np.array([[0, 0, 1]])
wheel_positions = [
    [1.2, 0, 1.1],
    [-1.2, 0, 1.1],
    [1.2, 0, -1.1],
    [-1.2, 0, -1.1],
]

wheels = [
    fury.actor.cylinder(
        wheel_center,
        wheel_direction,
        (0.1, 0.7, 0.3),
        radius=1.7,
        heights=0.3,
        resolution=10,
        capped=True,
    )
    for _ in range(4)
]
Animating each wheel and setting its position to the right position using a single keyframe that will not change.
wheels_animations = [fury.animation.Animation(actors=wheel) for wheel in wheels]

for wheel_anim in wheels_animations:
    wheel_anim.set_position(0.0, wheel_positions.pop())
    wheel_anim.set_rotation(0.0, [0, 0, 1, 1])
    wheel_anim.set_rotation(1.0, [0, 0, 1, -1])
Creating a radar on top of the car
First we create the shaft holding and rotating the radar
In order to animate the shaft actor we have to add it to an Animation
radar_shaft_anim = fury.animation.Animation(actors=radar_shaft)
Setting a single position keyframe will make sure the actor will be placed at that position
radar_shaft_anim.set_position(0.0, [0, 2, 0])
Rotating the shaft around Y axis
radar_shaft_anim.set_rotation(0.0, [0, -250, 0])
radar_shaft_anim.set_rotation(1.0, [0, 250, 0])
radar_shaft_anim.set_rotation(2.0, [0, -250, 0])
Now we create the radar itself
radar = fury.actor.cone(
    np.array([[0, 0, 0]]), directions=(0, 0, 0), colors=(0.2, 0.2, 0.9)
)
Then add it to an animation in order to rotate it
radar_animation = fury.animation.Animation(actors=radar)
Set position and rotation as done above with the shaft.
radar_animation.set_position(0, [-0.4, 0.5, 0])
radar_animation.set_rotation(0.0, [0, 0, 0])
radar_animation.set_rotation(1.0, [180, 0, 0])
radar_animation.set_rotation(2.0, [0, 0, 0])
Now, we want the radar to rotate when the shaft rotates in hierarchical way. To do that we must add the radar animation as a child animation of the shaft animation as below:
radar_shaft_anim.add_child_animation(radar_animation)
After that we want everything to animate related to the car. The wheels should always be attached to the car no matter where it moves. we do that by adding them as child animations of the car’s body animation
car_anim.add_child_animation([wheels_animations, radar_shaft_anim])
Moving the car
car_anim.set_position(0.0, [-10, 0.5, 0])
car_anim.set_position(6.0, [10, 0.5, 0])
Adding the car Animation to the show manager
showm.add_animation(car_anim)
scene.add(road)
scene.camera().SetPosition(0, 20, 30)

interactive = False

if interactive:
    showm.start()

fury.window.record(
    scene=scene, out_path="viz_keyframe_hierarchical_animation.png", size=(900, 768)
)
Total running time of the script: (0 minutes 0.105 seconds)