Note
Go to the end to download the full example code
Figure and Color Control using Check boxes and Radio Buttons#
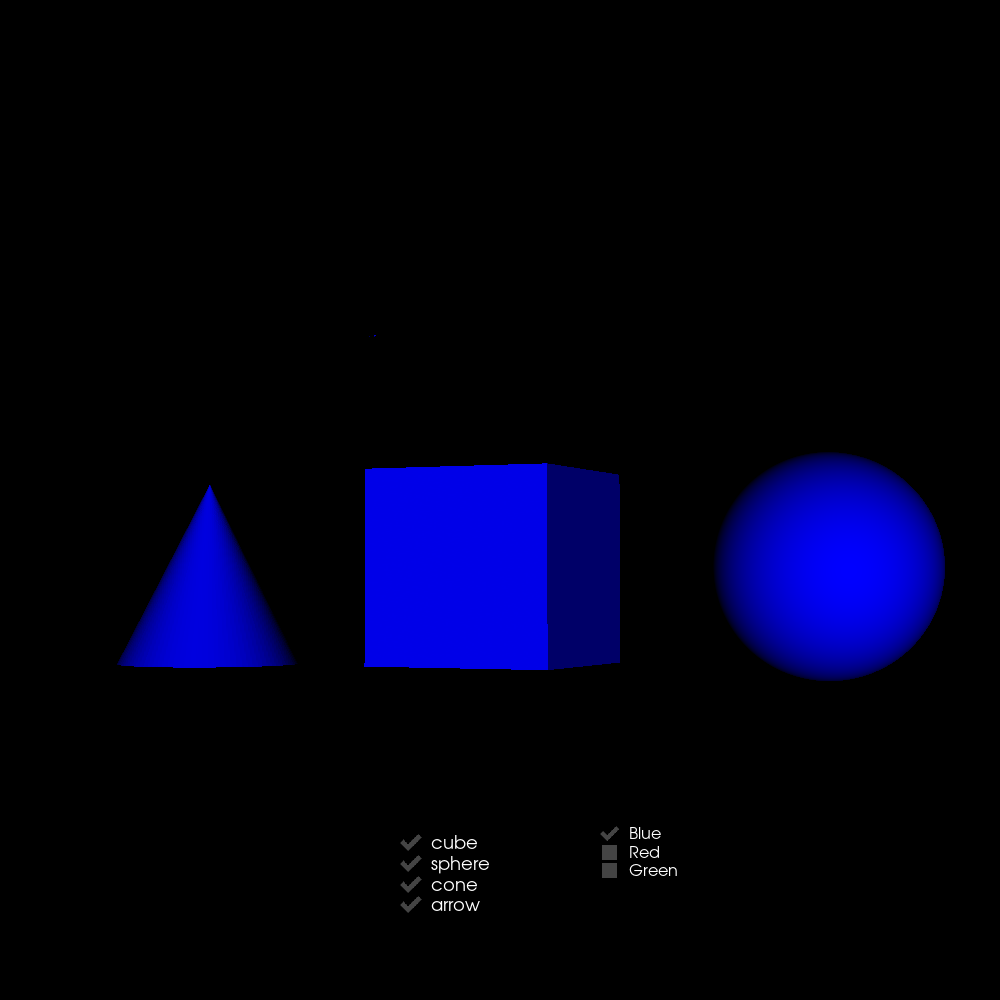
This example shows how to use the CheckBox UI API. We will demonstrate how to create a cube, sphere, cone and arrow and control its color and visibility using checkboxes.
First, some imports.
import numpy as np

from fury import actor, ui, utils, window
from fury.data import fetch_viz_icons
First we need to fetch some icons that are included in FURY.
fetch_viz_icons()
Data size is approximately 12KB
Dataset is already in place. If you want to fetch it again please first remove the folder /Users/skoudoro/.fury/icons

({'icomoon.tar.gz': ('https://digital.lib.washington.edu/researchworks/bitstream/handle/1773/38478/icomoon.tar.gz', 'BC1FEEA6F58BA3601D6A0B029EB8DFC5F352E21F2A16BA41099A96AA3F5A4735')}, '/Users/skoudoro/.fury/icons')
We create the corresponding object actors for cube, sphere, cone and arrow.
cube = actor.cube(
    centers=np.array([[15, 0, 0]]),
    colors=np.array([[0, 0, 1]]),
    scales=np.array([[20, 20, 20]]),
    directions=np.array([[0, 0, 1]]),
)

sphere = actor.sphere(
    centers=np.array([[50, 0, 0]]),
    colors=np.array([[0, 0, 1]]),
    radii=11.0,
    theta=360,
    phi=360,
)

cone = actor.cone(
    centers=np.array([[-20, -0.5, 0]]),
    directions=np.array([[0, 1, 0]]),
    colors=np.array([[0, 0, 1]]),
    heights=20,
    resolution=100,
)

arrow = actor.arrow(
    centers=np.array([[0, 25, 0]]),
    colors=np.array([[0, 0, 1]]),
    directions=np.array([[1, 0, 0]]),
    heights=40,
    resolution=100,
)
We perform symmetric difference to determine the unchecked options. We also define methods to render visibility and color.
# Get difference between two lists.
def sym_diff(l1, l2):
    return list(set(l1).symmetric_difference(set(l2)))


# Set Visibility of the figures
def set_figure_visiblity(checkboxes):
    checked = checkboxes.checked_labels
    unchecked = sym_diff(list(figure_dict), checked)

    for visible in checked:
        figure_dict[visible].SetVisibility(True)

    for invisible in unchecked:
        figure_dict[invisible].SetVisibility(False)


def update_colors(color_array):
    for _, figure in figure_dict.items():
        vcolors = utils.colors_from_actor(figure)
        vcolors[:] = color_array
        utils.update_actor(figure)


# Toggle colors of the figures
def toggle_color(checkboxes):
    colors = checkboxes.checked_labels

    color_array = np.array([0, 0, 0])

    for col in colors:
        if col == "Red":
            color_array[0] = 255
        elif col == "Green":
            color_array[1] = 255
        else:
            color_array[2] = 255

    update_colors(color_array)
We define a dictionary to store the actors with their names as keys. A checkbox is created with actor names as it’s options.
figure_dict = {"cube": cube, "sphere": sphere, "cone": cone, "arrow": arrow}
check_box = ui.Checkbox(
    list(figure_dict),
    checked_labels=list(figure_dict),
    padding=1,
    font_size=18,
    font_family="Arial",
    position=(400, 85),
)
A similar checkbox is created for changing colors.
Show Manager#
Now that all the elements have been initialised, we add them to the show manager.
current_size = (1000, 1000)
show_manager = window.ShowManager(size=current_size, title="FURY Checkbox Example")

show_manager.scene.add(cube)
show_manager.scene.add(sphere)
show_manager.scene.add(cone)
show_manager.scene.add(arrow)
show_manager.scene.add(check_box)
show_manager.scene.add(color_toggler)
Set camera for better visualization
show_manager.scene.reset_camera()
show_manager.scene.set_camera(position=(0, 0, 150))
show_manager.scene.reset_clipping_range()
show_manager.scene.azimuth(30)
interactive = False

if interactive:
    show_manager.start()

window.record(scene=show_manager.scene, size=current_size, out_path="viz_checkbox.png")

Total running time of the script: (0 minutes 0.146 seconds)
