Week 8: The Birth of a Versatile API#
Hello everyone, it’s time for another weekly blogpost! Today, I am going to tell you all about how is the KDE API development going, and to show you the potential this holds for the future!
Last Week’s Effort#
Last week I told you how I managed to render some KDE renders to the screen, both in 2D and 3D, as you may check by my last blogpost. My new task was, as I had this example working, to start the API development. In a meeting with Bruno, one of my mentors, we debated on how could this work, reaching two options:
Implement the KDE in a single, simple actor.
Implement a KDE rendering manager, as a class.
The first one would have the advantage of being simple and pretty straightforward, as a user would only need to call the actor and have it working on their hands, having the tradeoff of leaving some important steps for a clean API hidden and static. These steps I mention are related to how this rendering works, as I have previously showed you, it relies on post-processing effects, which need an offscreen rendering, that for example are done by the callback functions.
In short, these functions are instructions the user gives to the interactor to run inside the interaction loop. Inside FURY there are tree types of callbacks passed to the window interactor:
Timer Callbacks: Added to the window interactor, they are a set of instructions that will be called from time to time, with interval defined by the user.
Window Callbacks: Added directly to the window, they are a set of instructions called whenever an specific event is triggered.
Interactor Callbacks: Added to the window interactor, they are a set of instructions called whenever an specific interaction, for example a mouse left-click, is triggered.
In this API, I will be using the Interactor Callback, set by the window.add_iren_callback() function, that will be called whenever a Render
interaction is detected, and needs to be first passed to the onscreen manager.
These details are more complicated, and would need, for example, for the user to pass the onscreen manager to the actor.kde() function.
Also, in the case of a kde actor not being used anymore and being declared, the callback then passed would still exist inside the manager and
be called even when the kde actor is not on screen anymore, which is not ideal.
Knowing these problems, we thought of a second option, that would have the advantage of not leaving those details and steps behind. It has the tradeoff of maybe complicating things as it would need to be called after calling the effects manager, but as I will show you below, it is not that complicated at all.
I also reviewed my fellow GSoC contributors PR’s as well, PR #810 and #803. Bruno told me to take a look as well on Conventional Commits , a way to standardize commits by prefixes, so I did that as well.
So how did it go?#
Well, the implemented manager class is named EffectManager() and to initialize it you only need to pass the onscreen manager.
The onscreen manager is the standard FURY window manager you would use in a normal FURY-based program:
# Onscreen manager setup
from fury import window

scene = window.Scene()

onscreen_manager = window.ShowManager(scene, "demo", (width, height))

effects = EffectManager(onscreen_manager)
After that, to render a KDE calculation of points to the screen, you need only to call its kde() function:
kde_actor = effects.kde(center, points, sigmas, scale = 10.0, colormap = "inferno")
# Those last two are optional
Pass it to the onscreen manager scene:
onscreen_manager.scene.add(kde_actor)
And to start it, as usual:
onscreen_manager.start()
As simple as that. This three lines of code output the same result as I showed you last week, this time, with different sigmas for each point:

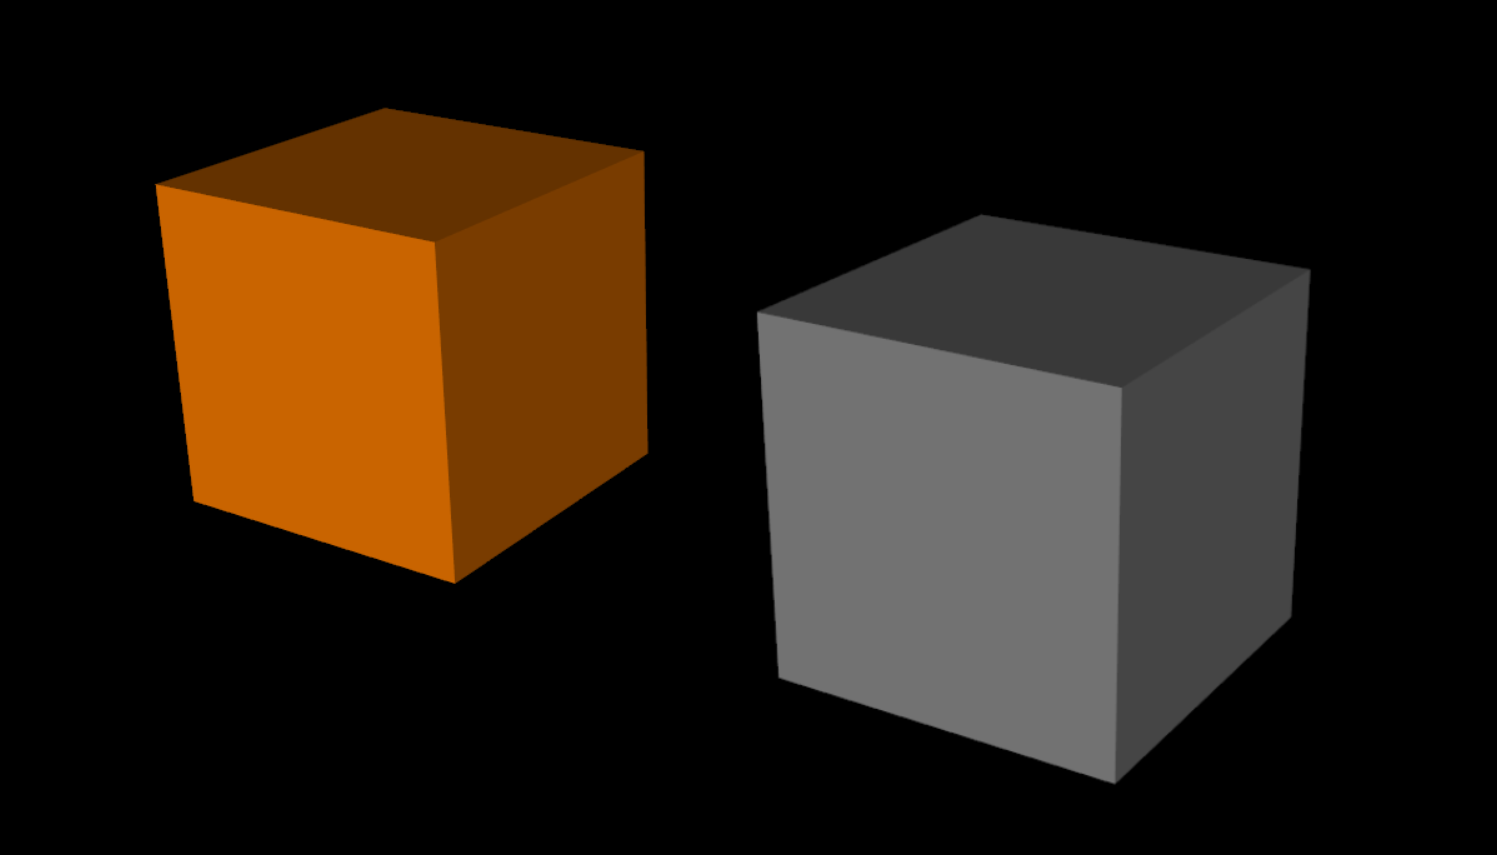
After having that working, I experimented beyond. See, as I previously said, we are dealing here with post-processing effects, with KDE being only one of the many existing ones, as this Wikipedia Page on post processing shows. Knowing that, I tried one of the first filters I learned, the Laplacian one. This filter is, as its name hints, applying the Discrete Laplace Operator in an image. This filter shows sudden changes of value, a good way to detect borders. The process is the same as the kde actor, requiring only the actor you want to apply the filter to. Below, the result I got from applying that to a box actor:
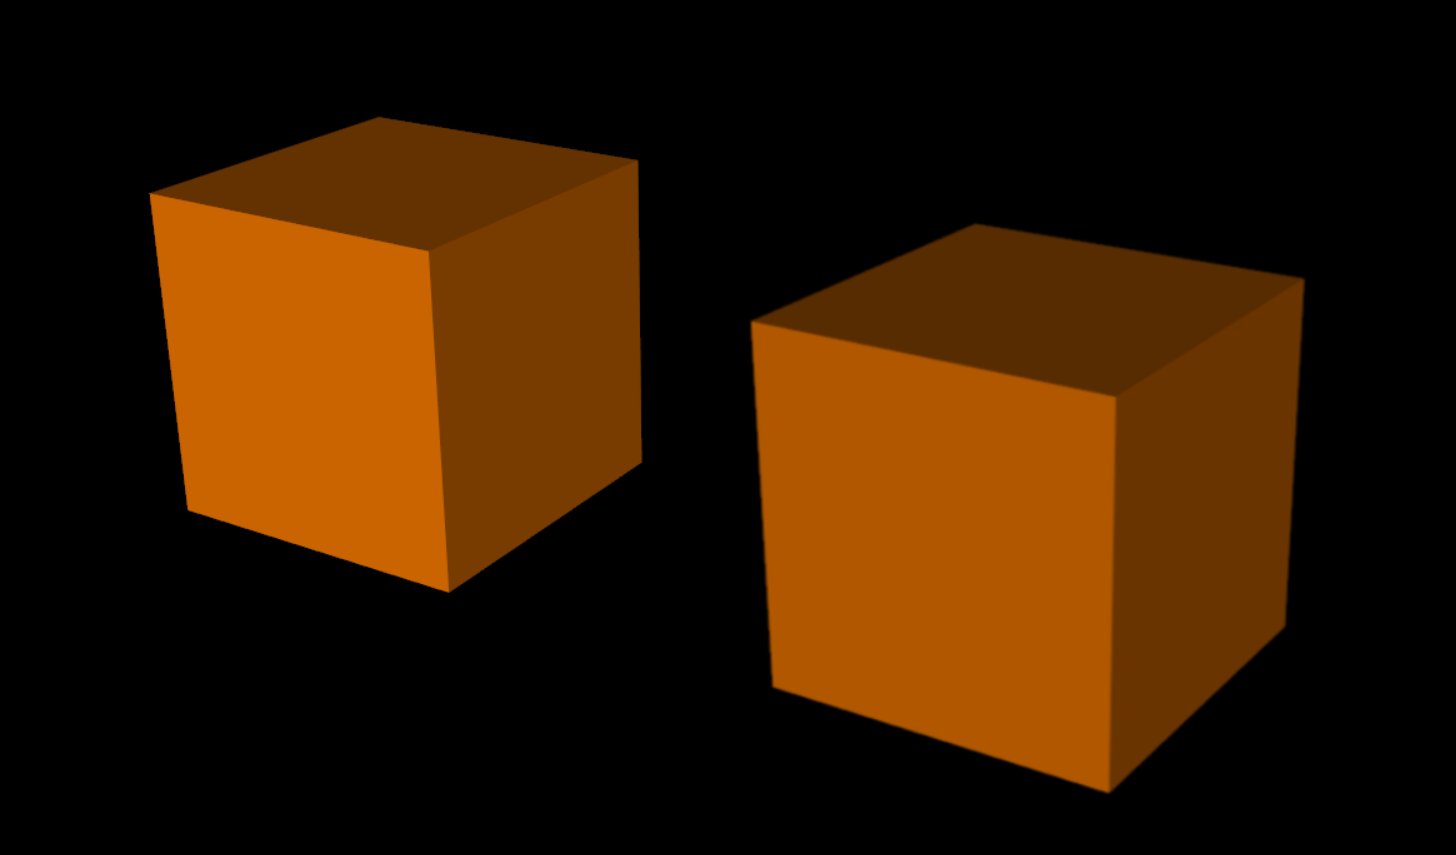
Something I found important to leave as an option was filter compositing. What if an user wanted to, for example, apply one laplacian filter after another? Well, the example below shows that is possible as well:
It still needs some tweaks and suffers from some bugs, but it works! Those represent important progress as it shows the versatility this API may present. I have also already implemented grayscale and 3x3 gaussian blur as well:
This Week’s Goals#
My plans for this week are to keep working and polishing the API, mainly the KDE part, so it can be ready for a first review. When that is ready, I plan to experiment with more filters and make this more dynamic, maybe implementing a way to apply custom kernel transformations, passed by the user, to the rendering process. This has been a really exciting journey and I am getting happy with the results!
Wish me luck!