Note
Go to the end to download the full example code
Timeline and setting keyframes#
In his tutorial, you will learn how to use Fury Timeline for playing the
animations.
What is Timeline?#
Timeline is responsible for handling the playback of Fury Animations.
Timeline has playback methods such as play, pause, stop, …
which can be used to control the animation.
import numpy as np

import fury
We create our Scene and ShowManager as usual.
scene = fury.window.Scene()

showm = fury.window.ShowManager(scene=scene, size=(900, 768))
showm.initialize()
Creating a Timeline#
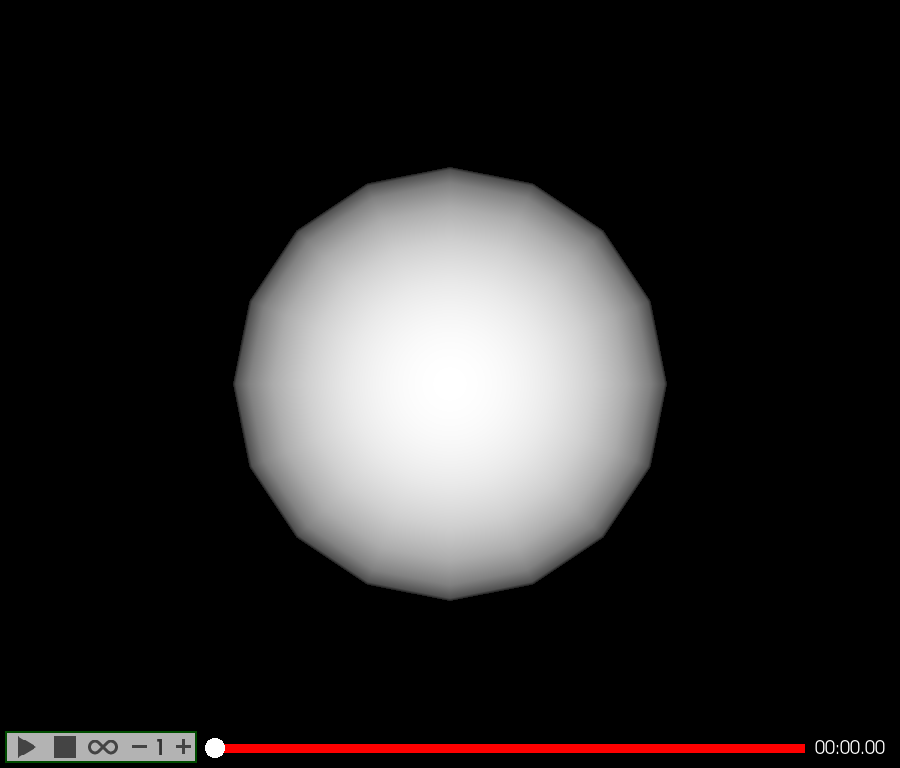
FURY Timeline has the option to attaches a very useful panel for
controlling the animation by setting playback_panel=True.
Creating a Timeline with a PlaybackPanel.
timeline = fury.animation.Timeline(playback_panel=True)
Creating a Fury Animation as usual
Setting Keyframes#
There are multiple ways to set keyframes:
1- To set a single keyframe, you may use animation.set_<property>(t, k),
where <property> is the name of the property to be set. I.e. setting position
to (1, 2, 3) at time 0.0 would be as following:
anim.set_position(0.0, np.array([1, 2, 3]))
Supported properties are: position, rotation, scale, color, and opacity.
2- To set multiple keyframes at once, you may use
animation.set_<property>_keyframes(keyframes).
That’s it! Now we are done setting keyframes.
In order to control this animation by the timeline we created earlier, this animation must be added to the timeline.
timeline.add_animation(anim)
Now we add only the Timeline to the ShowManager the same way we add
Animation to the ShowManager.
showm.add_animation(timeline)

scene.set_camera(position=(0, 0, -10))

interactive = False

if interactive:
    showm.start()

fury.window.record(
    scene=scene, out_path="viz_keyframe_animation_timeline.png", size=(900, 768)
)

Total running time of the script: (0 minutes 0.121 seconds)
