Note
Go to the end to download the full example code
Keyframe animation introduction#
This tutorial explains keyframe animation in FURY.
Animations in FURY#
FURY provides an easy-to-use animation system that enables users creating complex animations based on keyframes. The user only need to provide the attributes of actors at certain times (keyframes), and the system will take care of animating everything through interpolating between those keyframes.
What exactly is a keyframe#
A Keyframe is simply a marker of time which stores the value of a property.
A keyframe consists of a timestamp and some data. These data can be anything such as temperature, position, or scale.
What is Keyframe Animation#
Keyframe animations is a technique to simplify the process of animating a scene. Instead of providing the actor attributes for each frame, only a small amount of keyframes are needed to create a smooth animation. Each keyframe encodes the state of an actor at a certain timestamp. For instance a keyframe might define that an actor should be positioned at the origin (0,0,0) at the start of the animation. Another keyframe may define that the actor should move to position (1,0,0) after 10 seconds. The system will take care of interpolating the position of that actor between these two keyframes.
Almost any parameter that you can set for FURY actors can be animated using keyframes.
For example, a Keyframe might define that the position of a FURY actor is (0, 0, 0) at time equals 1 second.
The goal of a Keyframe is to allow for interpolated animation, meaning, for example, that the user could then add another key at time equals 3 seconds, specifying the actor’s position is (1, 1, 0),
Then the correct position of the actor for all the times between 3 and 10 will be interpolated.
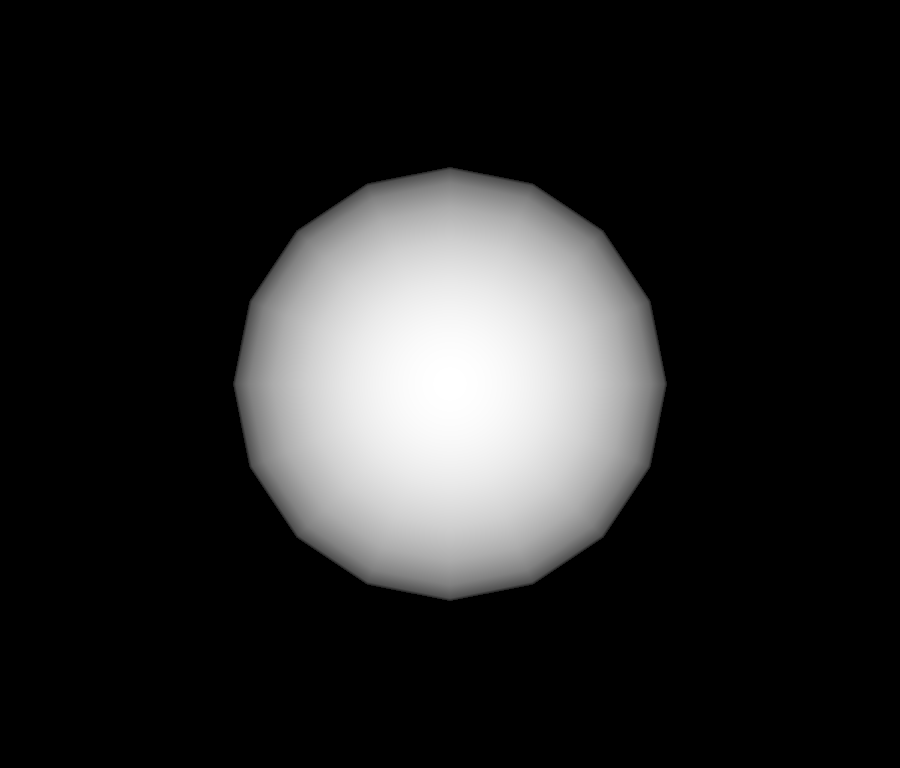
For this tutorial, we are going to use the FURY animation module to translate FURY sphere actor.
import numpy as np

import fury

scene = fury.window.Scene()

showm = fury.window.ShowManager(scene=scene, size=(900, 768))
showm.initialize()
Translating a sphere#
This is a quick demo showing how to translate a sphere from (0, 0, 0) to
(1, 1, 1).
First, we create an Animation. See viz_interpolators.py tutorial
animation = fury.animation.Animation()
We also create the FURY sphere actor that will be animated.
Then lets add the sphere actor to the Animation
animation.add_actor(actor=sphere)
Then, we set our position keyframes at different timestamps Here we want the sphere’s position at the beginning to be [0, 0, 0]. And then at time equals 3 seconds to be at [1, 1, 0] then finally at the end (time equals 6) to return to the initial position which is [0, 0, 0] again.
animation.set_position(0.0, [-1, -1, 0])
animation.set_position(3.0, [1, 1, 0])
animation.set_position(6.0, [-1, -1, 0])
The Animation must be added to the ShowManager as follows:
showm.add_animation(animation)
scene.camera().SetPosition(0, 0, 10)
Animation can be added to the scene instead of the ShowManager but, the
animation will need to be updated and then render the scene manually.
No need to add the sphere actor to scene, since it’s now a part of the
Animation.
interactive = False

if interactive:
    showm.start()

fury.window.record(
    scene=scene, out_path="viz_keyframe_animation_introduction.png", size=(900, 768)
)

Total running time of the script: (0 minutes 0.122 seconds)
