Note
Go to the end to download the full example code
User Interfaces#
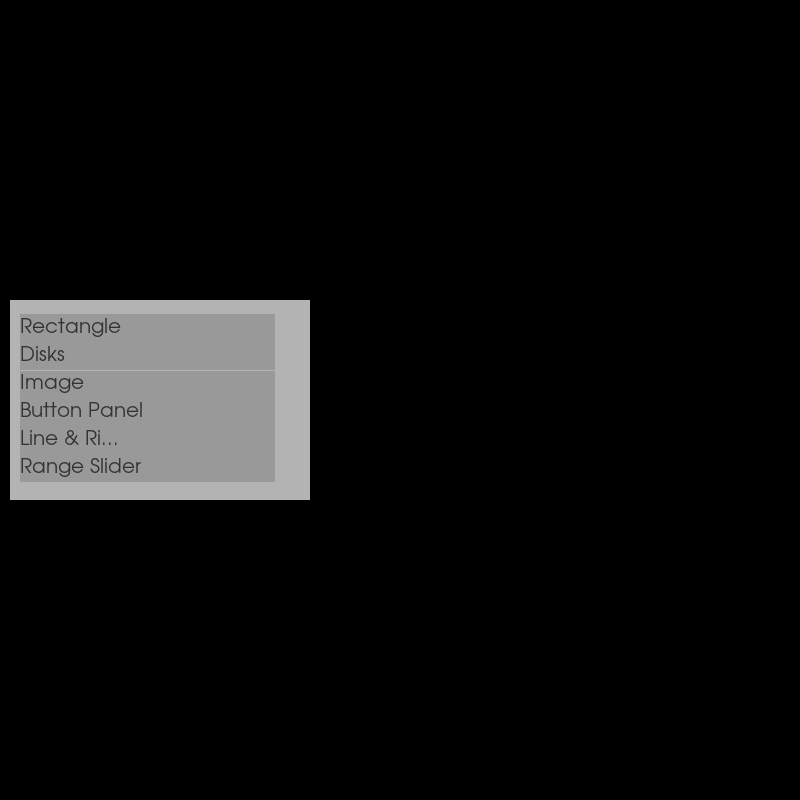
This example shows how to use the UI API. We will demonstrate how to create several FURY UI elements, then use a list box to toggle which element is shown.
First, a bunch of imports.
import numpy as np

import fury
Shapes#
Let’s start by drawing some simple shapes. First, a rectangle.
rect = fury.ui.Rectangle2D(size=(200, 200), position=(400, 300), color=(1, 0, 1))
Then we can draw a solid circle, or disk.
disk = fury.ui.Disk2D(outer_radius=50, center=(500, 500), color=(1, 1, 0))
Add an inner radius to make a ring.
ring = fury.ui.Disk2D(
    outer_radius=50, inner_radius=45, center=(500, 300), color=(0, 1, 1)
)
Image#
Now let’s display an image. First we need to fetch some icons that are included in FURY.
fury.data.fetch_viz_icons()
Data size is approximately 12KB
Dataset is already in place. If you want to fetch it again please first remove the folder /Users/skoudoro/.fury/icons

({'icomoon.tar.gz': ('https://digital.lib.washington.edu/researchworks/bitstream/handle/1773/38478/icomoon.tar.gz', 'BC1FEEA6F58BA3601D6A0B029EB8DFC5F352E21F2A16BA41099A96AA3F5A4735')}, '/Users/skoudoro/.fury/icons')
Now we can create an image container.
img = fury.ui.ImageContainer2D(
    img_path=fury.data.read_viz_icons(fname="home3.png"), position=(450, 350)
)
Cube and sliders#
Let’s add a cube to the scene and control it with sliders.
Now we’ll add three sliders: one circular and two linear.
ring_slider = fury.ui.RingSlider2D(
    center=(740, 400), initial_value=0, text_template="{angle:5.1f}°"
)

line_slider_x = fury.ui.LineSlider2D(
    center=(500, 250),
    initial_value=0,
    min_value=-10,
    max_value=10,
    orientation="horizontal",
)

line_slider_y = fury.ui.LineSlider2D(
    center=(650, 350),
    initial_value=0,
    min_value=-10,
    max_value=10,
    orientation="vertical",
)
We can use a callback to rotate the cube with the ring slider.
def rotate_cube(slider):
    angle = slider.value
    previous_angle = slider.previous_value
    rotation_angle = angle - previous_angle
    cube.RotateX(rotation_angle)


ring_slider.on_change = rotate_cube
Similarly, we can translate the cube with line sliders. We use global variables to keep track of the position of the cube.
cube_x = 0
cube_y = 0


def translate_cube_x(slider):
    global cube_x, cube_y
    cube_x = slider.value
    cube.SetPosition(cube_x, cube_y, 0)


def translate_cube_y(slider):
    global cube_x, cube_y
    cube_y = slider.value
    cube.SetPosition(cube_x, cube_y, 0)


line_slider_x.on_change = translate_cube_x
line_slider_y.on_change = translate_cube_y
Range Slider#
Finally, we can add a range slider. This element is composed of two sliders. The first slider has two handles which let you set the range of the second.
range_slider_x = fury.ui.RangeSlider(
    line_width=8,
    handle_side=25,
    range_slider_center=(450, 450),
    value_slider_center=(450, 350),
    length=150,
    min_value=0,
    max_value=10,
    font_size=18,
    range_precision=2,
    value_precision=4,
    shape="square",
)

range_slider_y = fury.ui.RangeSlider(
    line_width=8,
    handle_side=25,
    range_slider_center=(750, 400),
    value_slider_center=(650, 400),
    length=150,
    min_value=0,
    max_value=10,
    font_size=18,
    range_precision=2,
    value_precision=4,
    orientation="vertical",
    shape="square",
)
Show Manager#
Now that all the elements have been initialised, we add them to the show manager.
current_size = (800, 800)
show_manager = fury.window.ShowManager(size=current_size, title="FURY UI Example")

show_manager.scene.add(listbox)
for example in examples:
    for element in example:
        show_manager.scene.add(element)
show_manager.scene.add(cube)
show_manager.scene.reset_camera()
show_manager.scene.set_camera(position=(0, 0, 200))
show_manager.scene.reset_clipping_range()
show_manager.scene.azimuth(30)

# To interact with the UI, set interactive = True
interactive = False

if interactive:
    show_manager.start()

fury.window.record(
    scene=show_manager.scene, size=current_size, out_path="viz_fury.ui.png"
)
Total running time of the script: (0 minutes 0.119 seconds)