Note
Go to the end to download the full example code
Exporting scene as a glTF file#
In this tutorial, we will show how to create a glTF file for a scene.
import numpy as np

import fury
Specifying centers and colors for actors. We will use these parameters later.
Create a scene.
scene = fury.window.Scene()
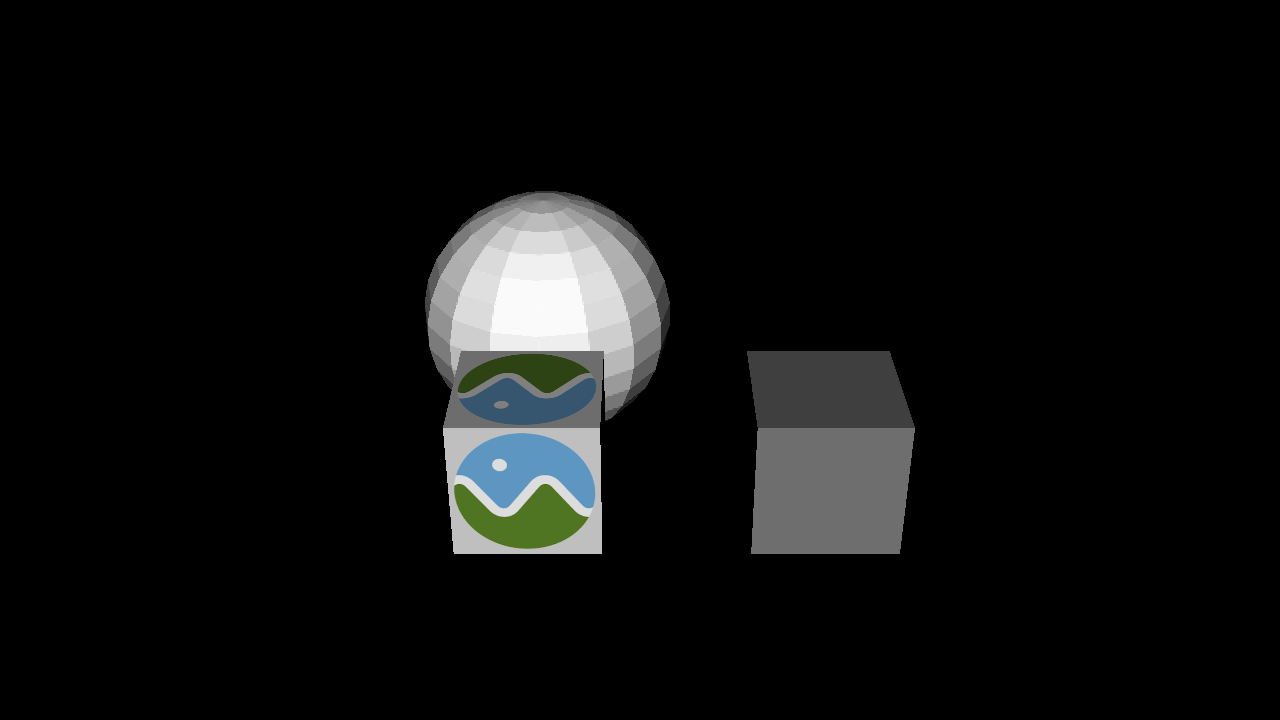
Creating actors and adding to scene.
cube = fury.actor.cube(np.add(centers, np.array([2, 0, 0])), colors=colors / 2)
scene.add(cube)

sphere = fury.actor.sphere(np.add(centers, np.array([0, 2, 0])), colors=colors)
scene.add(sphere)

fury.data.fetch_gltf(name="BoxTextured", mode="glTF")
filename = fury.data.read_viz_gltf("BoxTextured")
gltf_obj = fury.gltf.glTF(filename)
box_actor = gltf_obj.actors()
scene.add(box_actor[0])
Setting camera to the scene.
scene.set_camera(
    position=(4.45, -21, 12), focal_point=(4.45, 0.0, 0.0), view_up=(0.0, 0.0, 1.0)
)
Exporting scene as a glTF file
fury.gltf.export_scene(scene, filename="viz_gltf_export.gltf")

Reading the newly created glTF file and get actors.
Add all the actor from list of actors to the scene.
scene.add(*actors)

interactive = False

if interactive:
    fury.window.show(scene, size=(1280, 720))

fury.window.record(scene=scene, out_path="viz_gltf_export.png", size=(1280, 720))
Total running time of the script: (0 minutes 0.105 seconds)