Note
Click here to download the full example code
Visualize bundles and metrics on bundles
First, let’s download some available datasets. Here we are using a dataset which provides metrics and bundles.
import numpy as np
from fury import window, actor
from dipy.data import fetch_bundles_2_subjects, read_bundles_2_subjects
from dipy.tracking.streamline import transform_streamlines, length

interactive = False  # set to True to show the interactive display window

fetch_bundles_2_subjects()
dix = read_bundles_2_subjects(subj_id='subj_1', metrics=['fa'],
                              bundles=['cg.left', 'cst.right'])
Store fractional anisotropy.
Store grid to world transformation matrix.
Store the cingulum bundle. A bundle is a list of streamlines.
bundle = dix['cg.left']
It happened that this bundle is in world coordinates and therefore we need to
transform it into native image coordinates so that it is in the same
coordinate space as the fa image.
bundle_native = transform_streamlines(bundle, np.linalg.inv(affine))
Show every streamline with an orientation color
This is the default option when you are using line or streamtube.
scene = window.Scene()

stream_actor = actor.line(bundle_native)

scene.set_camera(position=(-176.42, 118.52, 128.20),
                 focal_point=(113.30, 128.31, 76.56),
                 view_up=(0.18, 0.00, 0.98))

scene.add(stream_actor)

if interactive:
    window.show(scene, size=(600, 600), reset_camera=False)

window.record(scene, out_path='bundle1.png', size=(600, 600))
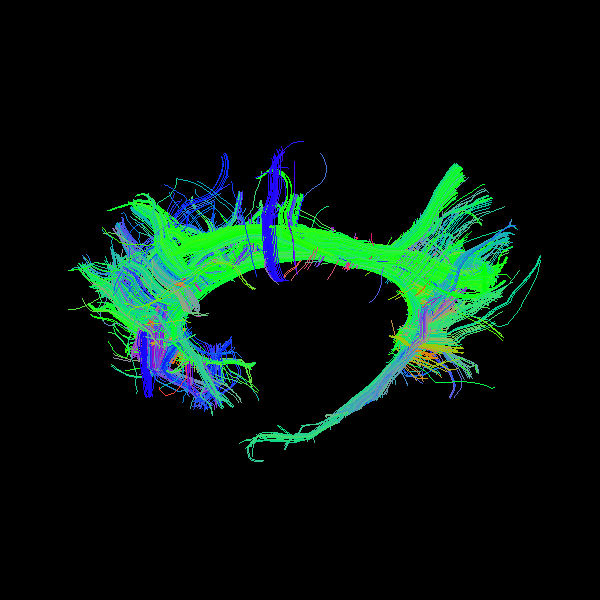
You may wonder how we knew how to set the camera. This is very easy. You just
need to run window.show once see how you want to see the object and then
close the window and call the camera_info method which prints the
position, focal point and view up vectors of the camera.
scene.camera_info()
Out:
# Active Camera
   Position (-237.76, 115.97, 138.55)
   Focal Point (112.80, 127.81, 76.06)
   View Up (0.18, 0.00, 0.98)
Show every point with a value from a volume with default colormap
Here we will need to input the fa map in streamtube or line.
scene.clear()
stream_actor2 = actor.line(bundle_native, fa, linewidth=0.1)
We can also show the scalar bar.
bar = actor.scalar_bar()

scene.add(stream_actor2)
scene.add(bar)

if interactive:
    window.show(scene, size=(600, 600), reset_camera=False)

window.record(scene, out_path='bundle2.png', size=(600, 600))
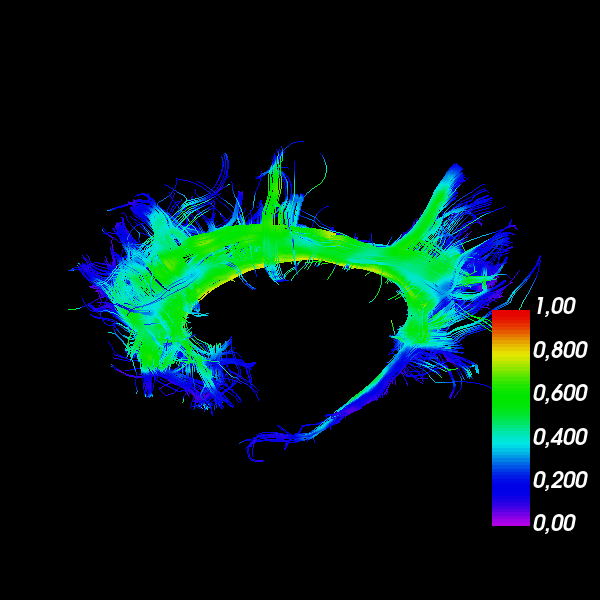
Show every point with a value from a volume with your colormap
Here we will need to input the fa map in streamtube
scene.clear()

hue = (0.0, 0.0)  # red only
saturation = (0.0, 1.0)  # white to red

lut_cmap = actor.colormap_lookup_table(hue_range=hue,
                                       saturation_range=saturation)

stream_actor3 = actor.line(bundle_native, fa, linewidth=0.1,
                           lookup_colormap=lut_cmap)
bar2 = actor.scalar_bar(lut_cmap)

scene.add(stream_actor3)
scene.add(bar2)

if interactive:
    window.show(scene, size=(600, 600), reset_camera=False)

window.record(scene, out_path='bundle3.png', size=(600, 600))
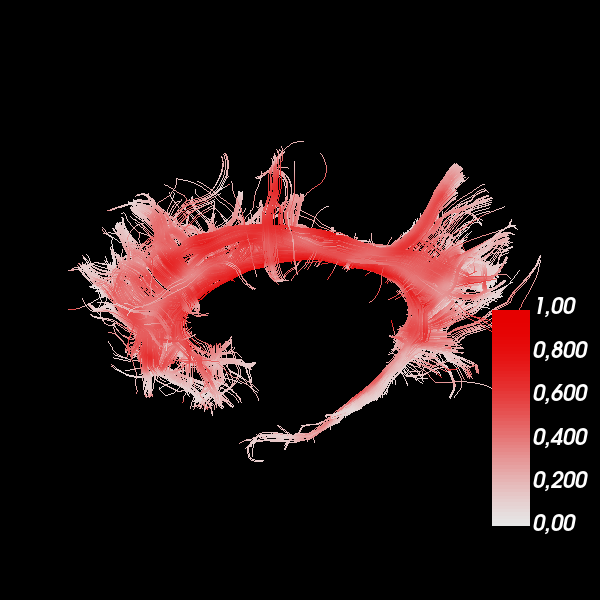
Show every bundle with a specific color
You can have a bundle with a specific color. In this example, we are chosing orange.
scene.clear()
stream_actor4 = actor.line(bundle_native, (1., 0.5, 0), linewidth=0.1)

scene.add(stream_actor4)

if interactive:
    window.show(scene, size=(600, 600), reset_camera=False)

window.record(scene, out_path='bundle4.png', size=(600, 600))
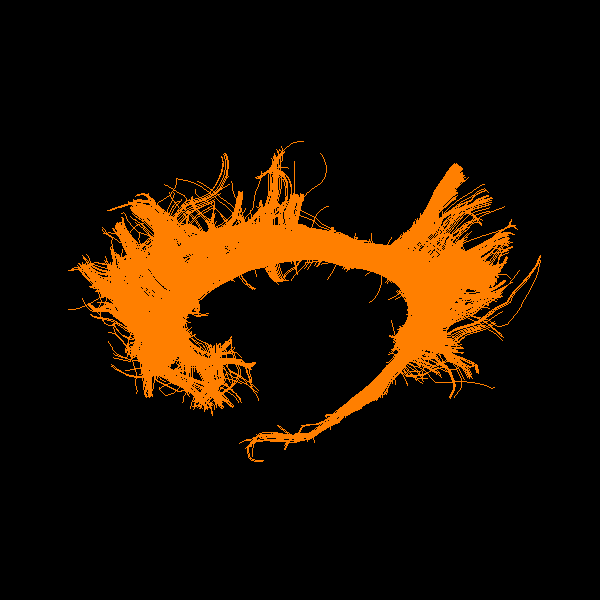
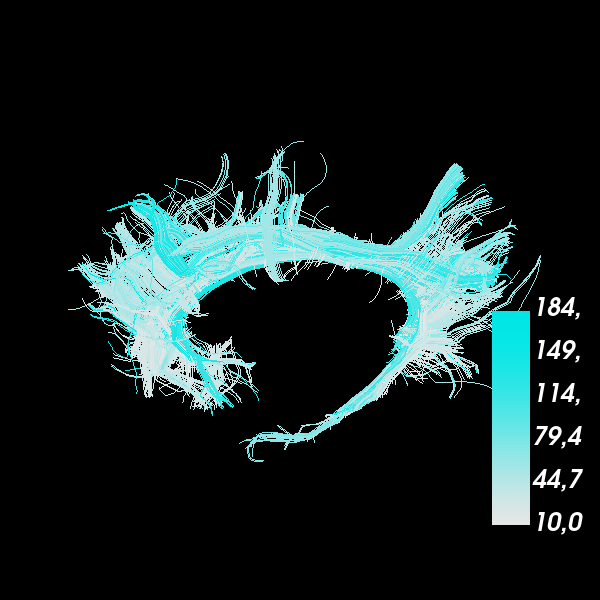
Show every streamline of a bundle with a different color
Let’s make a colormap where every streamline of the bundle is colored by its length.
scene.clear()

lengths = length(bundle_native)

hue = (0.5, 0.5)  # blue only
saturation = (0.0, 1.0)  # black to white

lut_cmap = actor.colormap_lookup_table(
    scale_range=(lengths.min(), lengths.max()),
    hue_range=hue,
    saturation_range=saturation)

stream_actor5 = actor.line(bundle_native, lengths, linewidth=0.1,
                           lookup_colormap=lut_cmap)

scene.add(stream_actor5)
bar3 = actor.scalar_bar(lut_cmap)

scene.add(bar3)

if interactive:
    window.show(scene, size=(600, 600), reset_camera=False)

window.record(scene, out_path='bundle5.png', size=(600, 600))
Show every point of every streamline with a different color
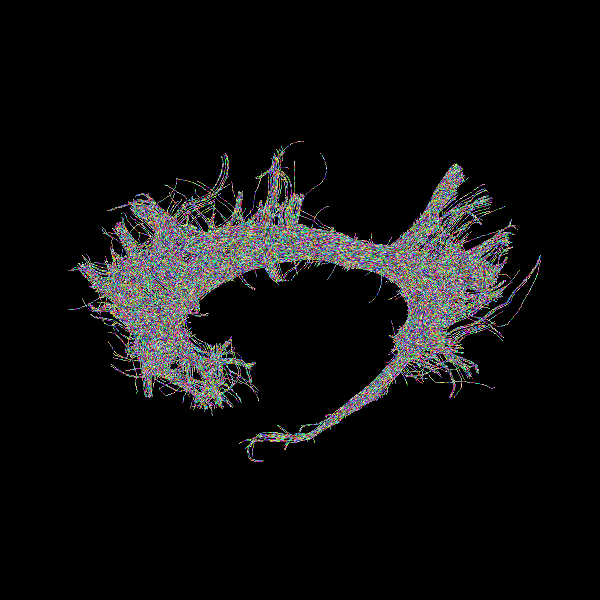
In this case in which we want to have a color per point and per streamline,
we can create a list of the colors to correspond to the list of streamlines
(bundles). Here in colors we will insert some random RGB colors.
scene.clear()

colors = [np.random.rand(*streamline.shape) for streamline in bundle_native]

stream_actor6 = actor.line(bundle_native, colors, linewidth=0.2)

scene.add(stream_actor6)

if interactive:
    window.show(scene, size=(600, 600), reset_camera=False)

window.record(scene, out_path='bundle6.png', size=(600, 600))
Out:
/Users/koudoro/miniconda3/envs/fury-env-37/lib/python3.7/site-packages/numpy/core/_asarray.py:102: VisibleDeprecationWarning: Creating an ndarray from ragged nested sequences (which is a list-or-tuple of lists-or-tuples-or ndarrays with different lengths or shapes) is deprecated. If you meant to do this, you must specify 'dtype=object' when creating the ndarray.
  return array(a, dtype, copy=False, order=order)
Add depth cues to streamline rendering
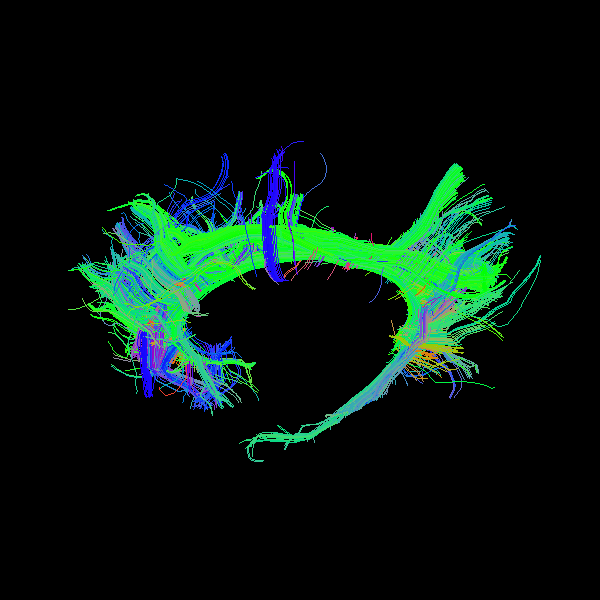
By default, lines are drawn with the same width on the screen, regardless of
their distance from the camera. To increase realism, we can enable
depth_cue to make the lines shrink with distance from the camera. We
will return to the default color scheme from the first example. Note that
depth_cue works best for linewidth <= 1.
scene.clear()

stream_actor7 = actor.line(bundle_native, linewidth=0.5, depth_cue=True)

scene.add(stream_actor7)

if interactive:
    window.show(scene, size=(600, 600), reset_camera=False)

window.record(scene, out_path='bundle7.png', size=(600, 600))
Render streamlines as fake tubes
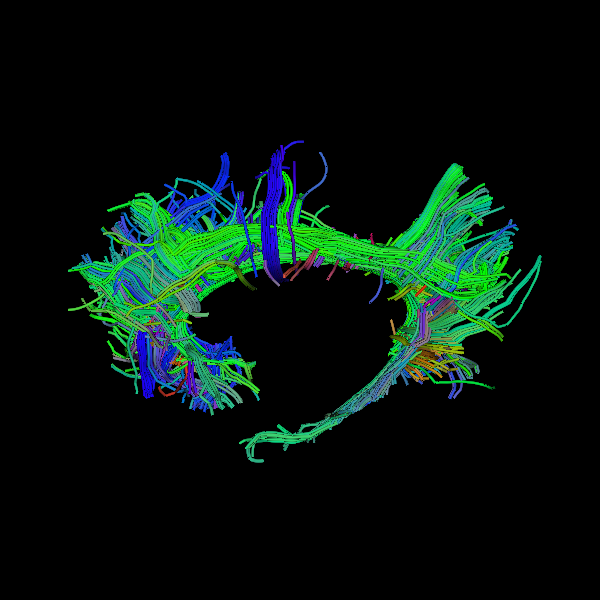
We can simulate the look of streamtubes by adding shading to streamlines with
fake_tube. Note that fake_tube requires linewidth > 1.
scene.clear()

stream_actor8 = actor.line(bundle_native, linewidth=3, fake_tube=True)

scene.add(stream_actor8)

if interactive:
    window.show(scene, size=(600, 600), reset_camera=False)

window.record(scene, out_path='bundle8.png', size=(600, 600))
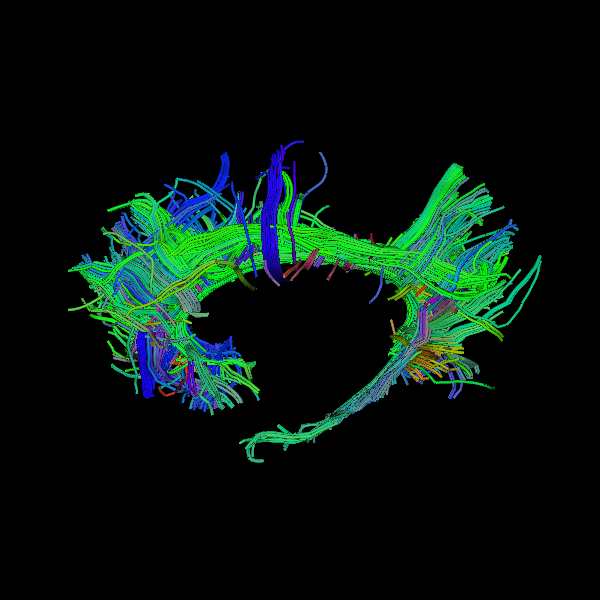
Combine depth cues with fake tubes
It is possible to fully simulate streamtubes by enabling both depth_cue
and fake_tube. However, it can be challenging to choose a linewidth
that demonstrates both techniques well.
scene.clear()

stream_actor9 = actor.line(bundle_native, linewidth=3,
                           depth_cue=True, fake_tube=True)

scene.add(stream_actor9)

if interactive:
    window.show(scene, size=(600, 600), reset_camera=False)

window.record(scene, out_path='bundle9.png', size=(600, 600))
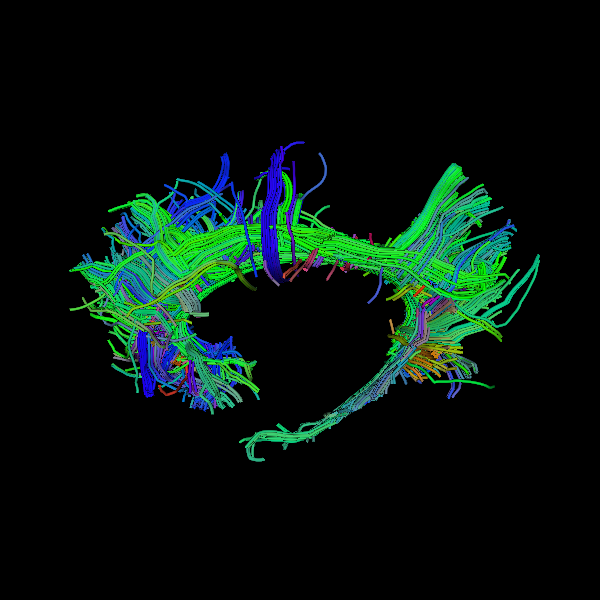
Render streamlines as tubes
For yet more realism, we can use streamtube. Note that this actor
generates much more geometry than line, so it is more computationally
expensive. For large datasets, it may be better to approximate tubes using
the methods described above.
scene.clear()

stream_actor10 = actor.streamtube(bundle_native, linewidth=0.5)

scene.add(stream_actor10)

if interactive:
    window.show(scene, size=(600, 600), reset_camera=False)

window.record(scene, out_path='bundle10.png', size=(600, 600))
In summary, we showed that there are many useful ways for visualizing maps on bundles.
Total running time of the script: ( 0 minutes 7.562 seconds)