
Note
Go to the end to download the full example code.
3D Contour Surfaces#
This example demonstrates how to use contour actors to visualize 3D volume data as surface meshes. FURY provides two main functions for creating contours:
contour_from_volume: Creates contours directly from 3D volume datacontour_from_roi: Creates contours with affine transformation support
We will start by creating simple geometric shapes and visualizing their contours. Then, we’ll work with real medical imaging data from the MNI template to demonstrate contours from regions of interest (ROI).
import numpy as np
from fury import actor, window
from dipy.data import read_mni_template
Example 1: Simple Contour from Volume#
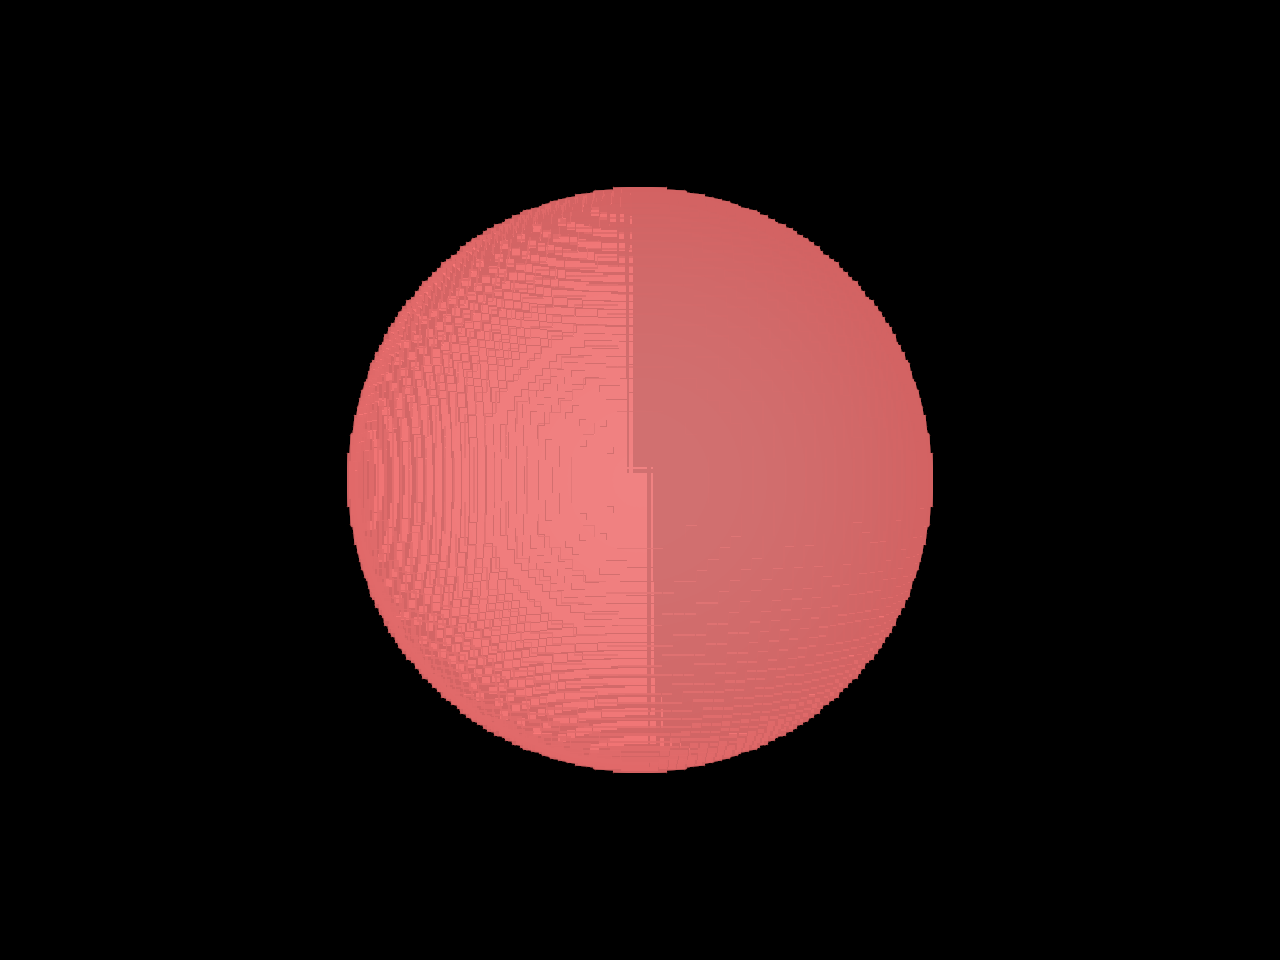
Let’s create a 3D volume with a simple geometric shape - a sphere inside
a cube. We’ll use contour_from_volume to extract and visualize the
surface of the sphere.
size = 100
volume = np.zeros((size, size, size), dtype=np.uint8)

# Create coordinate grids
x, y, z = np.indices((size, size, size))
center = (size - 1) / 2

# Calculate distances from center
distances = np.sqrt((x - center) ** 2 + (y - center) ** 2 + (z - center) ** 2)

# Create a sphere by setting voxels within radius to 1
sphere_radius = size // 3
volume[distances <= sphere_radius] = 1
Now we’ll create a contour actor from this volume. The contour will extract the surface where the volume transitions from 0 to 1, creating a mesh representation of the sphere.
contour_actor = actor.contour_from_volume(
    volume, color=(1, 0, 0), opacity=0.8, material="phong"
)

scene = window.Scene()
scene.add(contour_actor)
Create the ShowManager that we’ll reuse throughout the tutorial
show_m = window.ShowManager(scene=scene, title="FURY Contour Examples")
Display the first example
show_m.start()
Example 2: Multiple Contours with Different Objects#
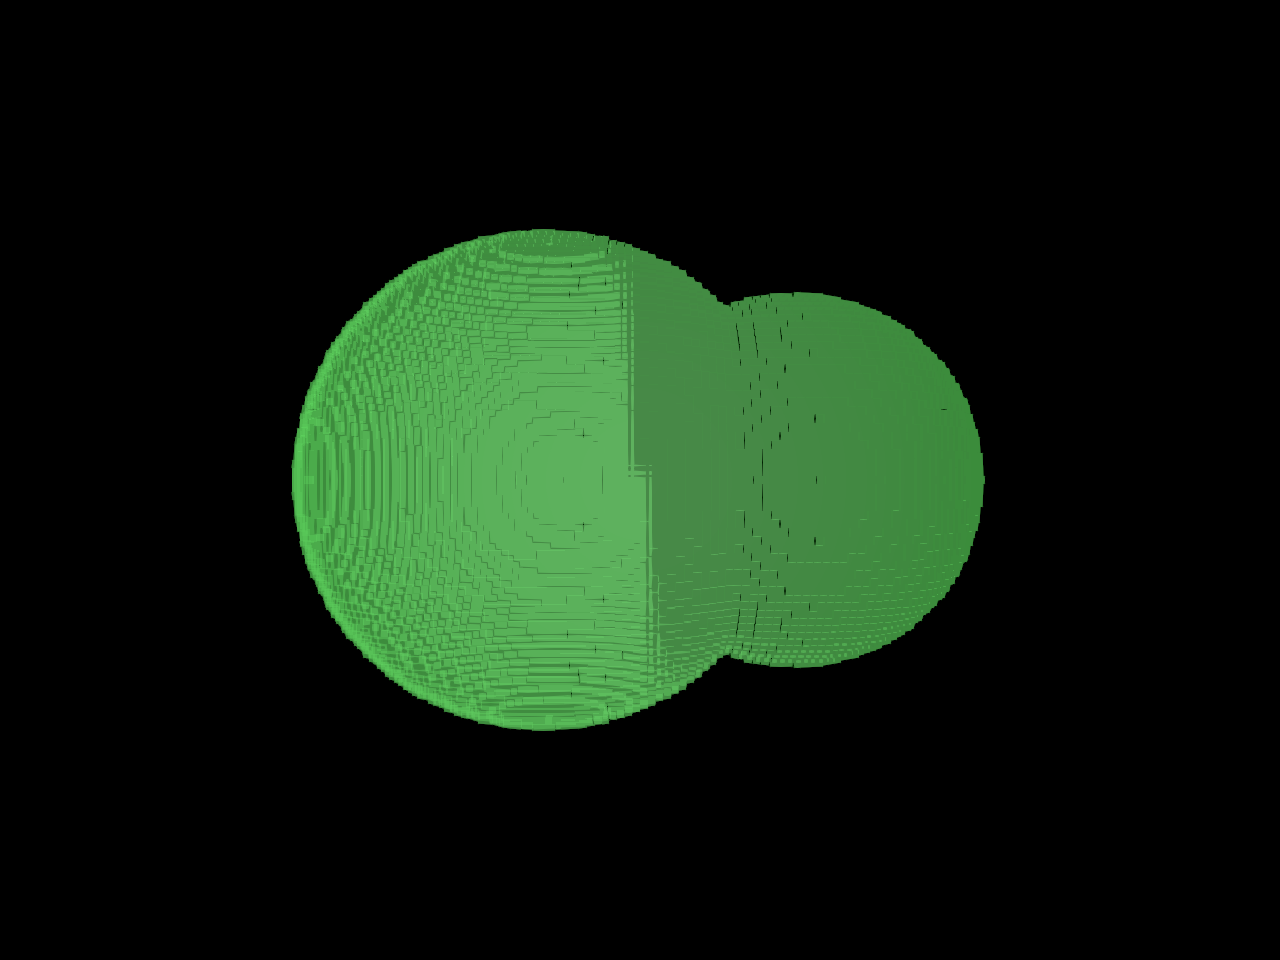
Let’s create a more complex volume with multiple objects and visualize them with different colors. We’ll create a cube with two spheres of different sizes.
volume_multi = np.zeros((size, size, size), dtype=np.uint8)

# First sphere (larger)
sphere1_radius = size // 3
sphere1_center = (size // 3, size // 2, size // 2)
distances1 = np.sqrt(
    (x - sphere1_center[0]) ** 2
    + (y - sphere1_center[1]) ** 2
    + (z - sphere1_center[2]) ** 2
)
volume_multi[distances1 <= sphere1_radius] = 1

# Second sphere (smaller)
sphere2_radius = size // 4
sphere2_center = (2 * size // 3, size // 2, size // 2)
distances2 = np.sqrt(
    (x - sphere2_center[0]) ** 2
    + (y - sphere2_center[1]) ** 2
    + (z - sphere2_center[2]) ** 2
)
volume_multi[distances2 <= sphere2_radius] = 2
Create one actor for all contours to identify they are coming from same volume.
scene.clear()

contour_actors = actor.contour_from_volume(
    volume_multi, color=(0, 1, 0), opacity=0.5, material="phong"
)
scene.add(contour_actors)

show_m = window.ShowManager(scene=scene, title="FURY Multi Contour Examples")
show_m.start()
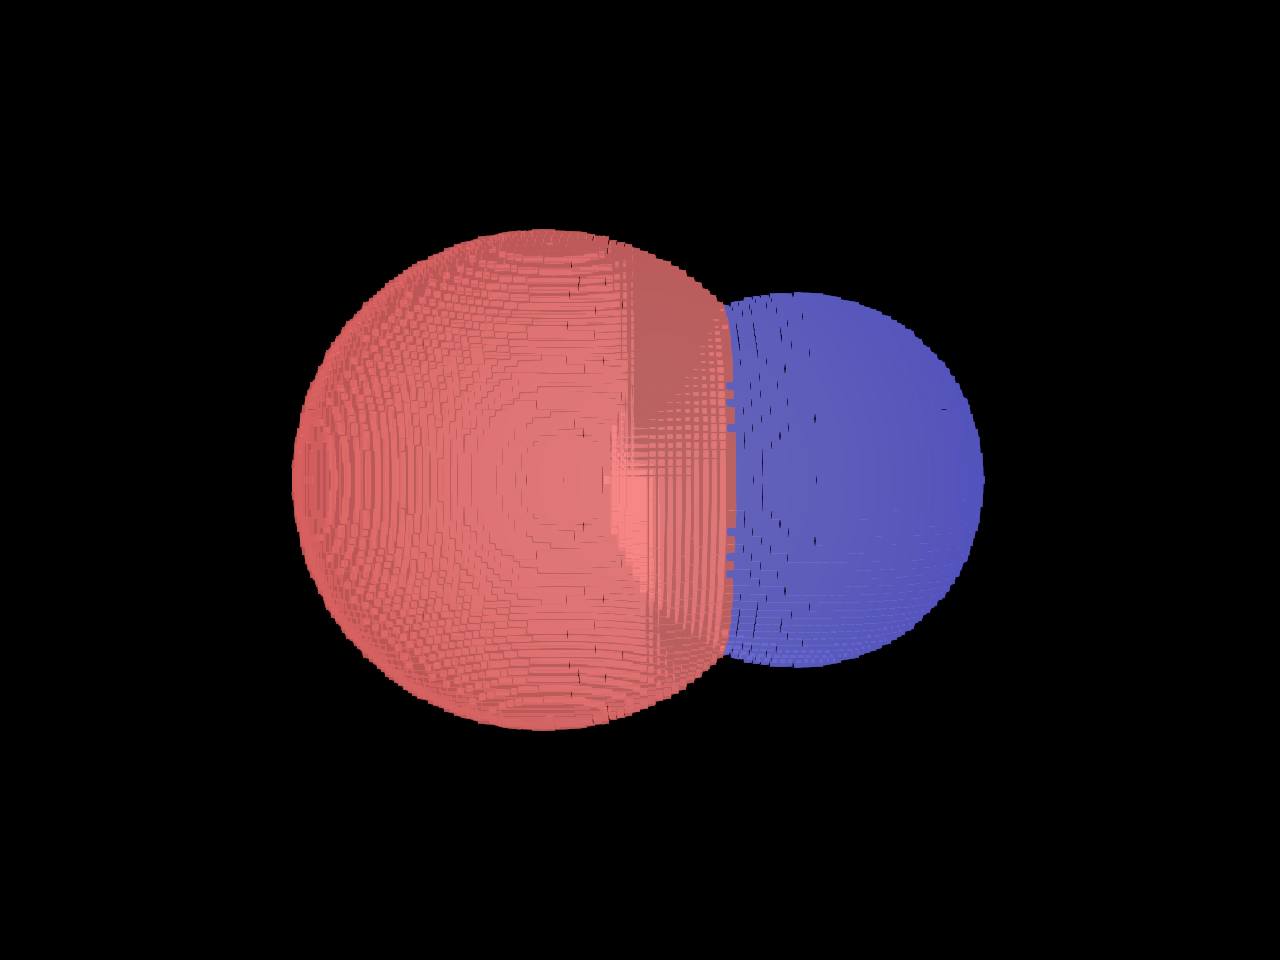
Create contours for each label directly from the labeled volume using
contour_from_label.
scene.clear()

label_colors = np.array([[1, 0, 0, 0.7], [0, 0, 1, 0.7]])
multi_contour_actor = actor.contour_from_label(volume_multi, colors=label_colors)
scene.add(multi_contour_actor)
Display the scene with multiple contours
show_m = window.ShowManager(scene=scene, title="FURY Multi Contour Examples")
show_m.start()
Example 3: Contour from ROI with Affine Transformation#
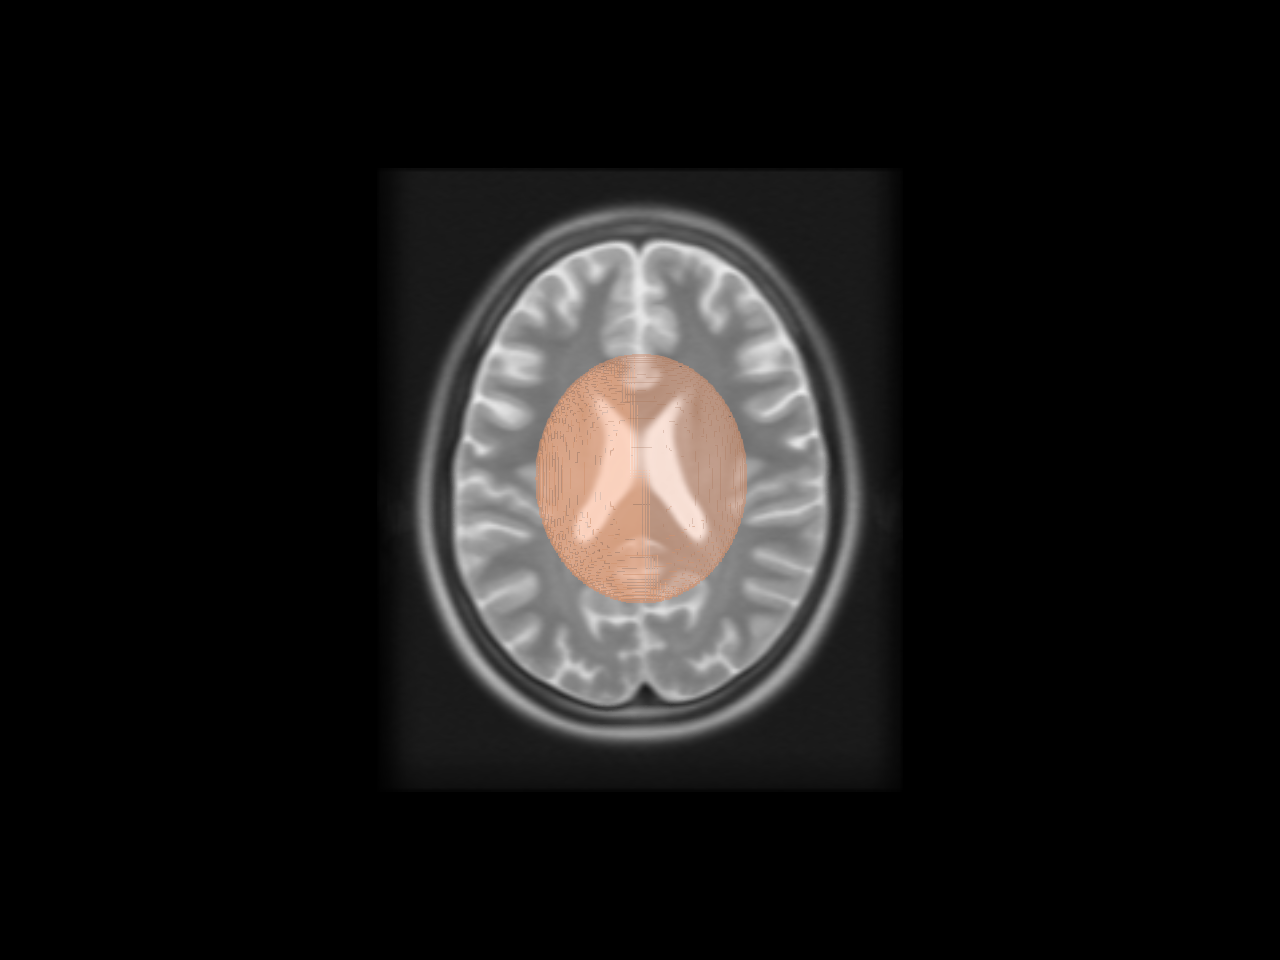
Now let’s work with real medical imaging data. We’ll read the MNI template
and create an ellipsoid ROI with the same dimensions. The contour_from_roi
function allows us to apply affine transformations to properly position
the contours in world coordinates. We’ll display the contour alongside
the actual volume slices.
nifti = read_mni_template()
data = np.asarray(nifti.dataobj)
affine = nifti.affine
Let’s examine the data shape and affine matrix
print(f"Data shape: {data.shape}")
print(f"Affine transformation matrix:\n{affine}")
Data shape: (197, 233, 189)
Affine transformation matrix:
[[   1.    0.    0.  -98.]
 [   0.    1.    0. -134.]
 [   0.    0.    1.  -72.]
 [   0.    0.    0.    1.]]
Create an ellipsoid ROI with the same dimensions as the MNI template. The ellipsoid will be centered in the volume.
roi_shape = data.shape
roi_ellipsoid = np.zeros(roi_shape, dtype=np.uint8)

# Calculate the center and radii for the ellipsoid
center_x, center_y, center_z = roi_shape[0] // 2, roi_shape[1] // 2, roi_shape[2] // 2
radius_x, radius_y, radius_z = roi_shape[0] // 5, roi_shape[1] // 5, roi_shape[2] // 5

# Create coordinate grids
x_roi, y_roi, z_roi = np.indices(roi_shape)

# Create ellipsoid using the equation: (x/a)^2 + (y/b)^2 + (z/c)^2 <= 1
ellipsoid_eq = (
    ((x_roi - center_x) / radius_x) ** 2
    + ((y_roi - center_y) / radius_y) ** 2
    + ((z_roi - center_z) / radius_z) ** 2
)

roi_ellipsoid[ellipsoid_eq <= 1] = 1

print(f"Created ellipsoid ROI with shape: {roi_ellipsoid.shape}")
print(f"Number of voxels in ROI: {np.sum(roi_ellipsoid)}")
Created ellipsoid ROI with shape: (197, 233, 189)
Number of voxels in ROI: 277921
Now create a contour from the ellipsoid ROI with affine transformation. The affine matrix ensures the contour is positioned correctly in anatomical space alongside the volume slicer.
contour_ellipsoid = actor.contour_from_roi(
    roi_ellipsoid, affine=affine, color=(1, 0.5, 0), opacity=0.6, material="phong"
)
Create a volume slicer for the MNI template to display alongside the contour
slicer_actor = actor.volume_slicer(data, affine=affine, interpolation="linear")
Clear the scene and add both the contour and the slicer
scene.clear()
scene.add(contour_ellipsoid)
scene.add(slicer_actor)
Display the scene with the ellipsoid contour and volume slices
show_m = window.ShowManager(scene=scene, title="FURY Contour from ROI Examples")
show_m.start()
Total running time of the script: (0 minutes 1.568 seconds)